Gipfeli, a beloved Swiss breakfast staple, brings the charm of alpine baking into your kitchen with its buttery, flaky goodness. Whether you’re new to baking or a seasoned home cook, this guide offers simple steps and everyday ingredients to create these delightful pastries. Imagine pulling a tray of golden Gipfeli from your oven, their aroma mingling with your morning coffee or tea. With this recipe, you’ll discover the joy of Swiss baking and savor a homemade treat that’s as authentic as it is delicious.
What is Gipfeli? A Swiss Breakfast Staple
Origins of Gipfeli
Gipfeli has deep roots in Switzerland, where it reigns as a breakfast favorite across cozy homes and bustling cafés. While it bears a resemblance to the French croissant, Gipfeli stands apart with its firmer texture and a hint of subtle sweetness. Its story intertwines with Swiss culinary heritage, a tradition that prizes simplicity, quality, and precision. Some trace its evolution to the influence of Austrian bakers in the 19th century, who brought laminated dough techniques to the region. Over time, the Swiss refined it into the Gipfeli we know today—a perfect balance of rustic charm and delicate craftsmanship.
Why Gipfeli is Loved
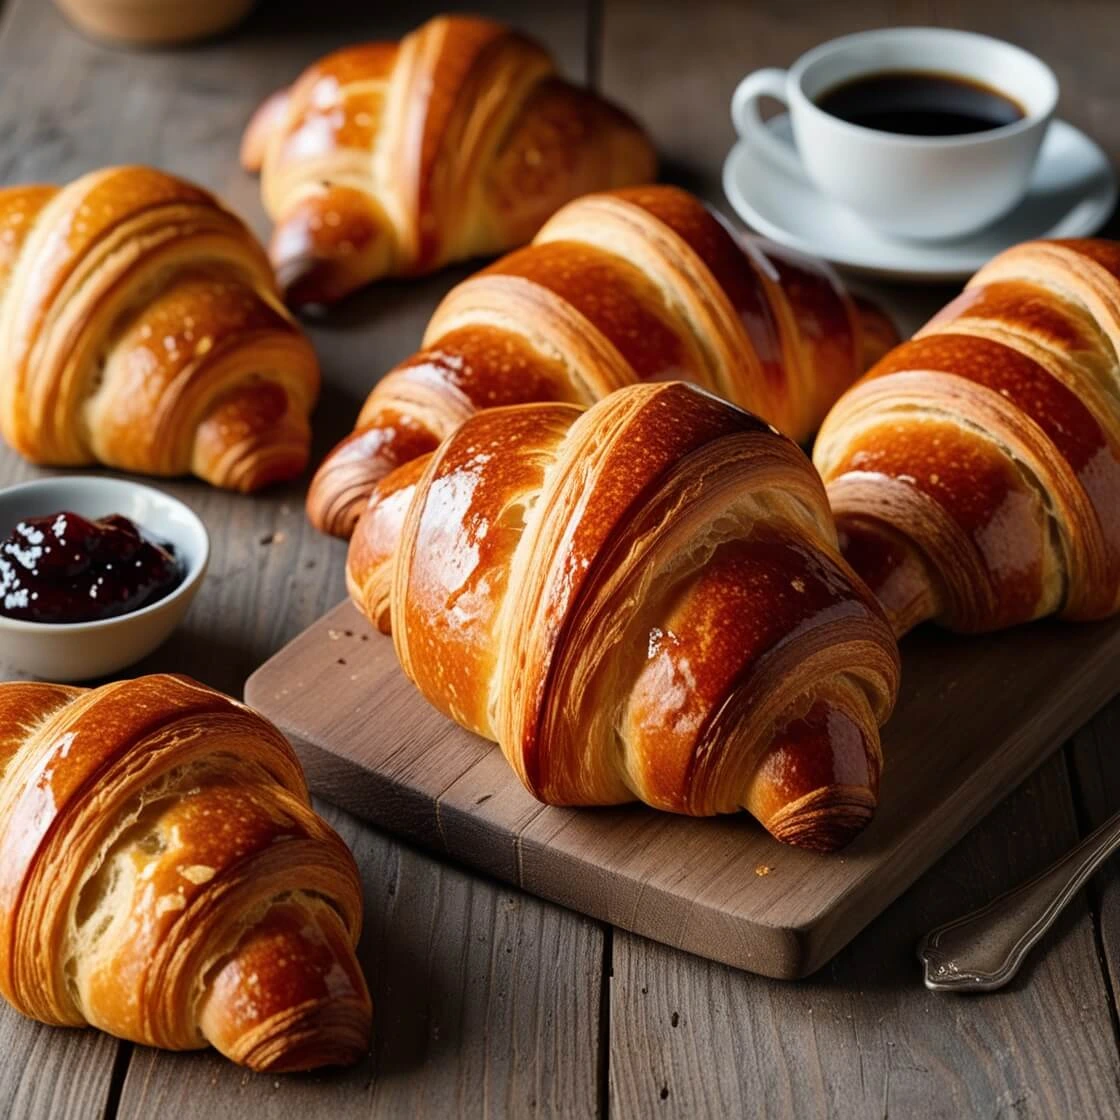
What makes Gipfeli so irresistible? It’s the harmony of its rich, buttery flavor and those crisp, flaky layers that shatter with every bite. Perfect for dunking into a steaming mug of coffee or sipping alongside a fragrant tea, Gipfeli’s versatility shines whether enjoyed plain or dressed up with fillings. Its relatively quick preparation—compared to some fussier pastries—makes it a practical choice for busy mornings or leisurely weekends. From its golden crust to its tender interior, Gipfeli embodies comfort and indulgence in every mouthful.
Common Variations
The classic Gipfeli is a simple, unfilled delight, but Swiss bakers love to get creative. Popular twists include chocolate-filled Gipfeli, where a luscious ribbon of dark chocolate hides within the layers, or almond paste versions that add a nutty, marzipan-like richness. Jam-stuffed Gipfeli, bursting with tart raspberry or sweet apricot, offer a fruity contrast to the buttery dough. These variations let you tailor the pastry to your taste while preserving its Swiss soul. Feel free to experiment—perhaps a sprinkle of cinnamon or a drizzle of vanilla glaze could become your signature touch.
Ingredients and Tools You’ll Need
To make perfect Gipfeli, start with top-notch ingredients and tools. Visit King Arthur Baking for flour tips and stock up on unsalted butter, milk, yeast, sugar, and salt. Grab a rolling pin, baking sheets, parchment paper, and a dough scraper for precision.
Essential Ingredients
- Flour – The Foundation of Gipfeli
All-purpose flour strikes the ideal balance for Gipfeli, offering softness without sacrificing structure. Sifting the flour removes lumps and aerates it, paving the way for a smooth, workable dough. Opt for unbleached, high-quality flour to enhance the pastry’s natural flavor—a small choice that makes a big difference in the final bite. - Butter – The Star Ingredient
Butter is the heart of Gipfeli’s flakiness, creating those coveted layers that puff up in the oven. Choose unsalted, high-fat butter (at least 82% fat) for the best results. Keep it cold but pliable during lamination—too soft, and it’ll blend into the dough; too hard, and it won’t spread evenly. The reward? Golden, melt-in-your-mouth pastries. - Milk – Adds Richness to the Dough
Whole milk lends moisture and a creamy depth to the dough, making it tender yet sturdy. Warm it gently (about 100°F or 38°C) to wake up the yeast without killing it—overheating is a common rookie mistake. This small step ensures your Gipfeli rise beautifully. - Yeast – The Rising Agent
Active dry yeast gives Gipfeli its light, airy lift. Dissolve it in lukewarm milk with a pinch of sugar to kickstart fermentation—bubbles will tell you it’s ready. Freshness matters, so check the expiration date. A lively yeast means fluffier pastries. - Sugar and Salt – Balancing Flavors
A touch of sugar adds a gentle sweetness, while salt sharpens the dough’s flavor profile. Measure carefully—too much sugar can overpower, and too little salt leaves it flat. Together, they craft that sweet-savory dance that defines traditional Gipfeli.
Necessary Tools
- Rolling Pin – For Perfect Layers
A sturdy, smooth rolling pin is your lamination ally. It helps you roll the dough evenly and press butter into thin, uniform layers. Wooden or marble, it doesn’t matter—just ensure it feels comfortable in your hands for this hands-on process. - Baking Sheets and Parchment Paper
Non-stick baking sheets paired with parchment paper guarantee Gipfeli bake evenly without sticking. The parchment also distributes heat consistently, yielding that golden hue, and makes cleanup a breeze after your baking triumph. - Dough Scraper – For Precision
A metal or plastic dough scraper is a baker’s best friend. It cleanly cuts dough, shapes triangles, and lifts sticky bits off your counter. This tool keeps your Gipfeli uniform and your workspace tidy.
Step-by-Step Guide to Making Gipfeli
Ready to bake? Follow these steps for Gipfeli that rival a Swiss bakery.
Step 1: Preparing the Dough
- Mixing Ingredients for Soft Dough
In a large bowl, combine flour, sugar, salt, activated yeast, and warm milk. Stir until a shaggy dough forms, then knead on a lightly floured surface for 8-10 minutes. You’re aiming for smooth, elastic dough—gluten development is key here. Too sticky? Add a sprinkle of flour, but don’t overdo it. - Resting for Fluffy Pastries
Place the dough in a lightly oiled bowl, cover with a clean kitchen towel, and let it rise in a warm, draft-free spot for about an hour. It should double in size as the yeast works its magic. Patience here means fluffier Gipfeli later.

Step 2: Laminating the Dough
- Adding Butter for Flaky Layers
Roll the rested dough into a rectangle, about ¼-inch thick. Place a flattened block of cold butter in the center, fold the dough over it like an envelope, and roll gently. Fold the dough in thirds (like a letter), chill for 20 minutes, then repeat this rolling-and-folding process twice more. Keep everything cold—pop it in the fridge between turns if needed.
Step 3: Shaping and Proofing
- Rolling and Cutting the Dough
Roll the laminated dough into a large, thin rectangle (about ⅛-inch thick). Cut it into long triangles with a sharp knife or pizza cutter. Starting at the wide base, roll each triangle toward the tip, tucking the point underneath to secure the crescent shape. - Proofing Before Baking
Arrange the shaped Gipfeli on a parchment-lined baking sheet, cover with a damp cloth, and let them proof for 30-45 minutes. They’ll puff up slightly, signaling they’re ready for the oven. Don’t rush this final rise—it’s the secret to that airy texture.

Tips and Tricks for Perfect Gipfeli
Avoiding Common Mistakes
- Chilled Ingredients Are Key
Warm butter or dough is the enemy of lamination. Keep both chilled to maintain distinct layers—soft butter blends in, ruining the flake. Work quickly, and refrigerate if your kitchen runs hot. - Proper Oven Temperature
Preheat your oven to 200°C (400°F) for crisp, golden Gipfeli. Too low, and they’ll bake unevenly; too high, and the butter might leak out. A hot oven locks in that perfect puff.
Serving and Enjoying Your Homemade Gipfeli
Traditional Swiss Pairings
- Coffee and Tea for Breakfast Bliss
Nothing beats a warm Gipfeli alongside a robust Swiss coffee or soothing herbal tea. The pastry’s buttery notes shine against the bitterness or floral hints of your drink—a morning ritual worth savoring. - Creative Dips and Toppings
Elevate your Gipfeli with a smear of fruit preserves, a drizzle of honey, or a dip in melted chocolate. These additions play off the flaky texture, turning a simple pastry into a decadent treat for breakfast or an afternoon snack.